Showing posts with label stencils. Show all posts

Thursday, 4 July 2019

Crafty little Minx - Jane Davenport making faces workshop...


Today I combined my love of creating backgrounds with stamps, stencils, acrylic paints and my brayer with the Jane Davenport girls.

I started by stamping ad stencilling all over a blank page with archival inks in grey and pink , then brayered over the  acrylic paints in pink, white and red, then added touches of yellow.
While the paint was still damp I lifted some off through the stencils with a babywipe.

I added some more stamped inages but thought about where I was going to add my girl before stamping.

I stencilled the outline of the girl and gessoed her face back to white
.

I decided to do the hair first this time with the JD  Colorsticks and my LTQ pen.

The face was coloured with Birthday Suit and Lit up pastels.
 I added added detail with a black fineliner then added washi tape details 💗

My crafty minx is going on my craft room wall to remind me to get started 😊💗

Hugs’n’snogs,
J xx

Monday, 1 July 2019

Making faces with Jane Davenport...

So I signed up to the FREE Making Faces class on Jane Davenport’s website... i’m now hooked!!!
I started with some stencils I bought with my birthday money back in January with the Licence to Quill pen, and my really old Pebbles inc. chalks... and its fair to say I was pretty pleased with the results!!!


But It made me want the proper Birthday Suit Pastel Palette... omg... what a difference!!! They are so creamy and rich, and really easy to use... they arrived this morning, so today I created Alice.


Then I thought I would have a go with acrylic paints ... I don’t have the JD set so used some of my own I had from Hobbycraft.
I then added the JD pastels on top 💚🧜🏻‍♀️💙


Love how she turned out
I used Aall & create stamps and stencils on both backgrounds - the blue one was one I dud ages ago when I first got the stencils so used The JD stencil over the top to create the face.

I’m entering my mermaid girl in the countryview crafts blog chalenge for July which is the theme of Blue and green... I think fits the bill 💙💚😊
Check out the challenge here
Oh my this is addictive lol 🤣🤣🤣
I haven’t been brave enough to work on my specially created journal yet becausr I don’t want to ruin it practising!!!

If you haven’t looked at her work I seriously recommend you have a look, as she is so inspirational!!

Hugs’n’snogs,
J xx

Monday, 24 June 2019

Bloom - JJAMMA challenge

I decided to have a go at JJAMMA challenge tonight - Back to Basics
1 stamp
1 stencil,
1 medium
3 colours + black & whit
and an unexpected item


I picked a lime green and very pale lilac acrylic paint and lemon 13arts rainbow color pigment, 13arts stencil, Aall &create stamp, texture paste as my medium, and a 13arts chipboard  word as my unexpected item.

Lots of brayered, stamped and stencilled layers and I achieved this result...


I felt it was lacking something after I had posted it so added some glossy accents and glass bubbles.


I looked at it for a while and still didn’t feel happy so i added some pink rainbow colour and a splash more posca white... love it now 😊

i should have picked a stronger colour than the lilac to begin with ... but I love it now 😊


Hugs’n’snogs,
J x


Sunday, 23 June 2019

My Epic Art Journal for Bubbly Funk - the Endgame...

So here I am with the finished piece... Warning this is very picture heavy!!!


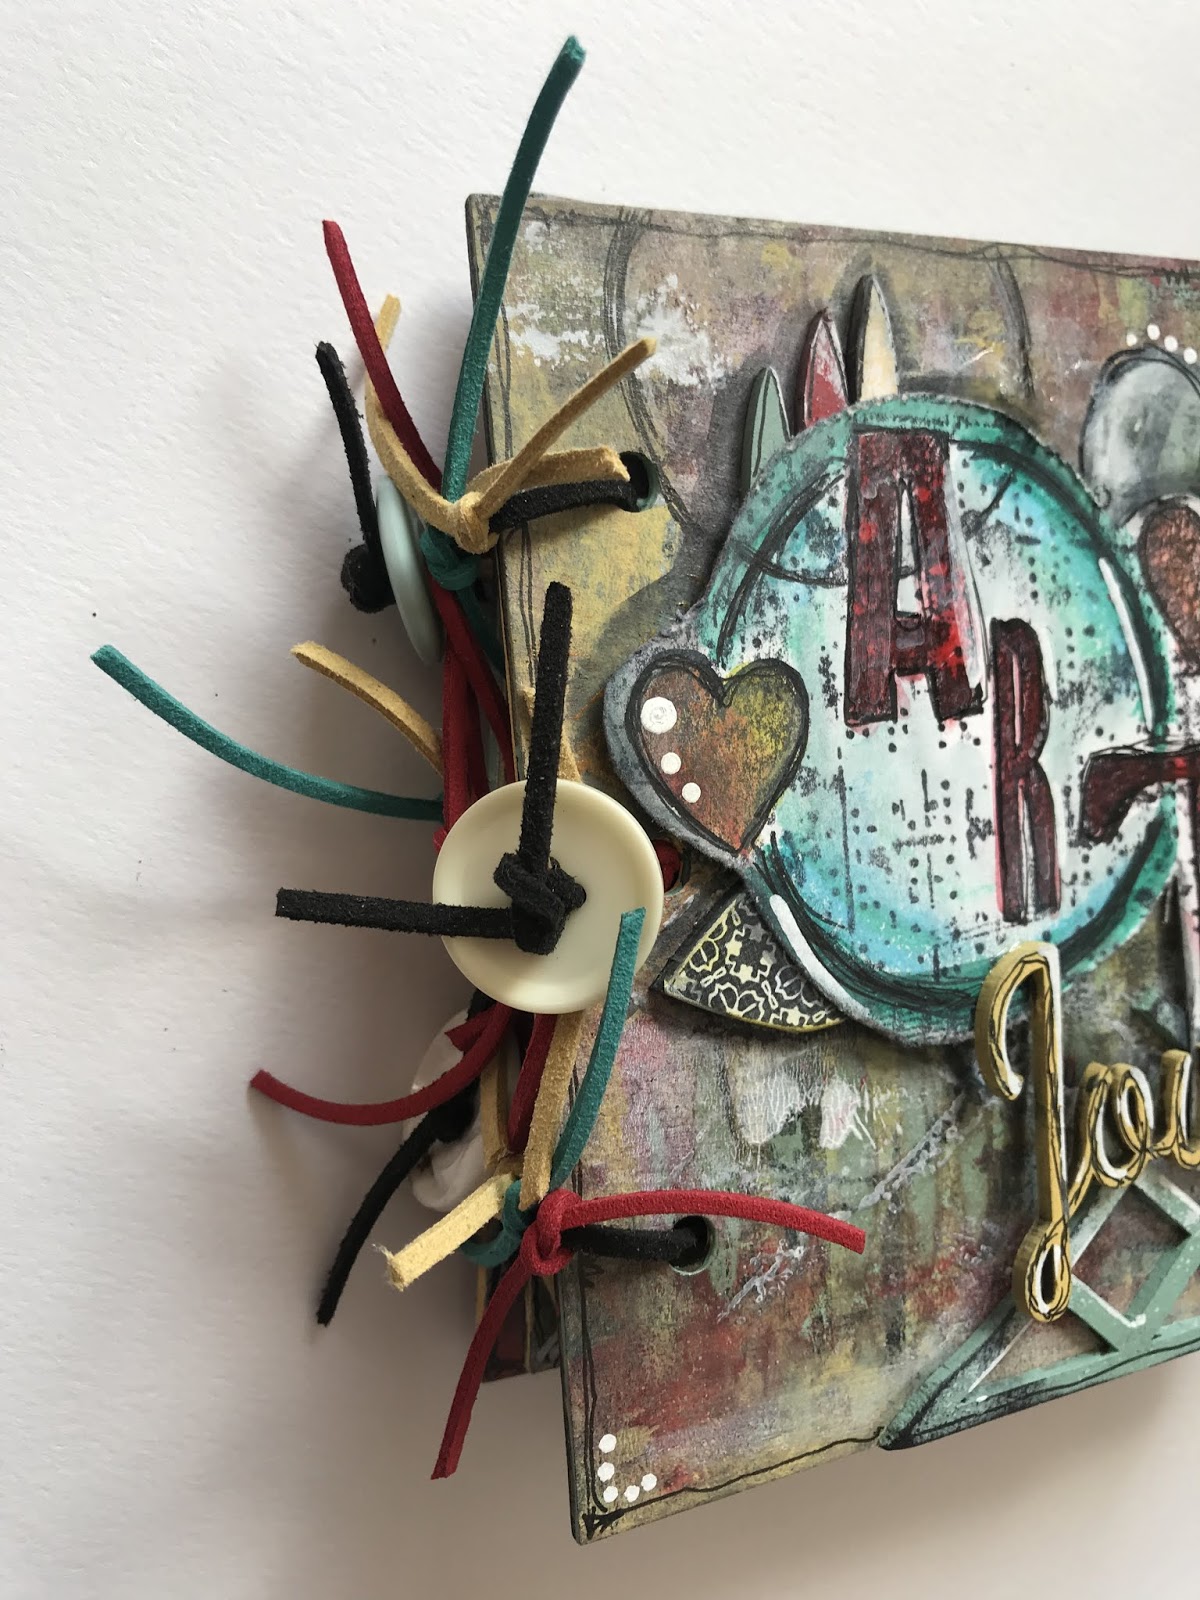
Binding it all together was the biggest challenge for me... as I said at the start i’m not a journaller or a mini book maker to be honest so I had to have a think.
I thought about book rings - which would have been good if I wanted to add extra pages later ( which I did consider).
My next option was going to be seam binding and wool... but I don’t know where mine is!!
But I found these suede cords I bought from Jewellery Maker a long long time ago and thought they would be perfect.


I played around with this for a while trying to get the pages to be as stable but moveable as possible ...I tried buttons between the pages but that didn’t work... adding additional knotted pieces seemed to do the trick though 😊

To finish off I just added a few more knotted pieces in the co-ordinating colours.


I’m super proud of this project and I apologise now if it appears many times over on social media lol.


Thank you so much Caroline for sending me these to play with and huge apologies for how long it took me to do them  justice.


Let me know what you think... and also any suggestions for a permanent black inkpad will be gratefully received 😊
Hugs and snogs,

J xx 

P.S.... this is the page that got away!!!! i found it underneath everything when I was clearing up the afternath lol 

Friday, 21 June 2019

My Epic Art journal for BubblyFunk - Part 3

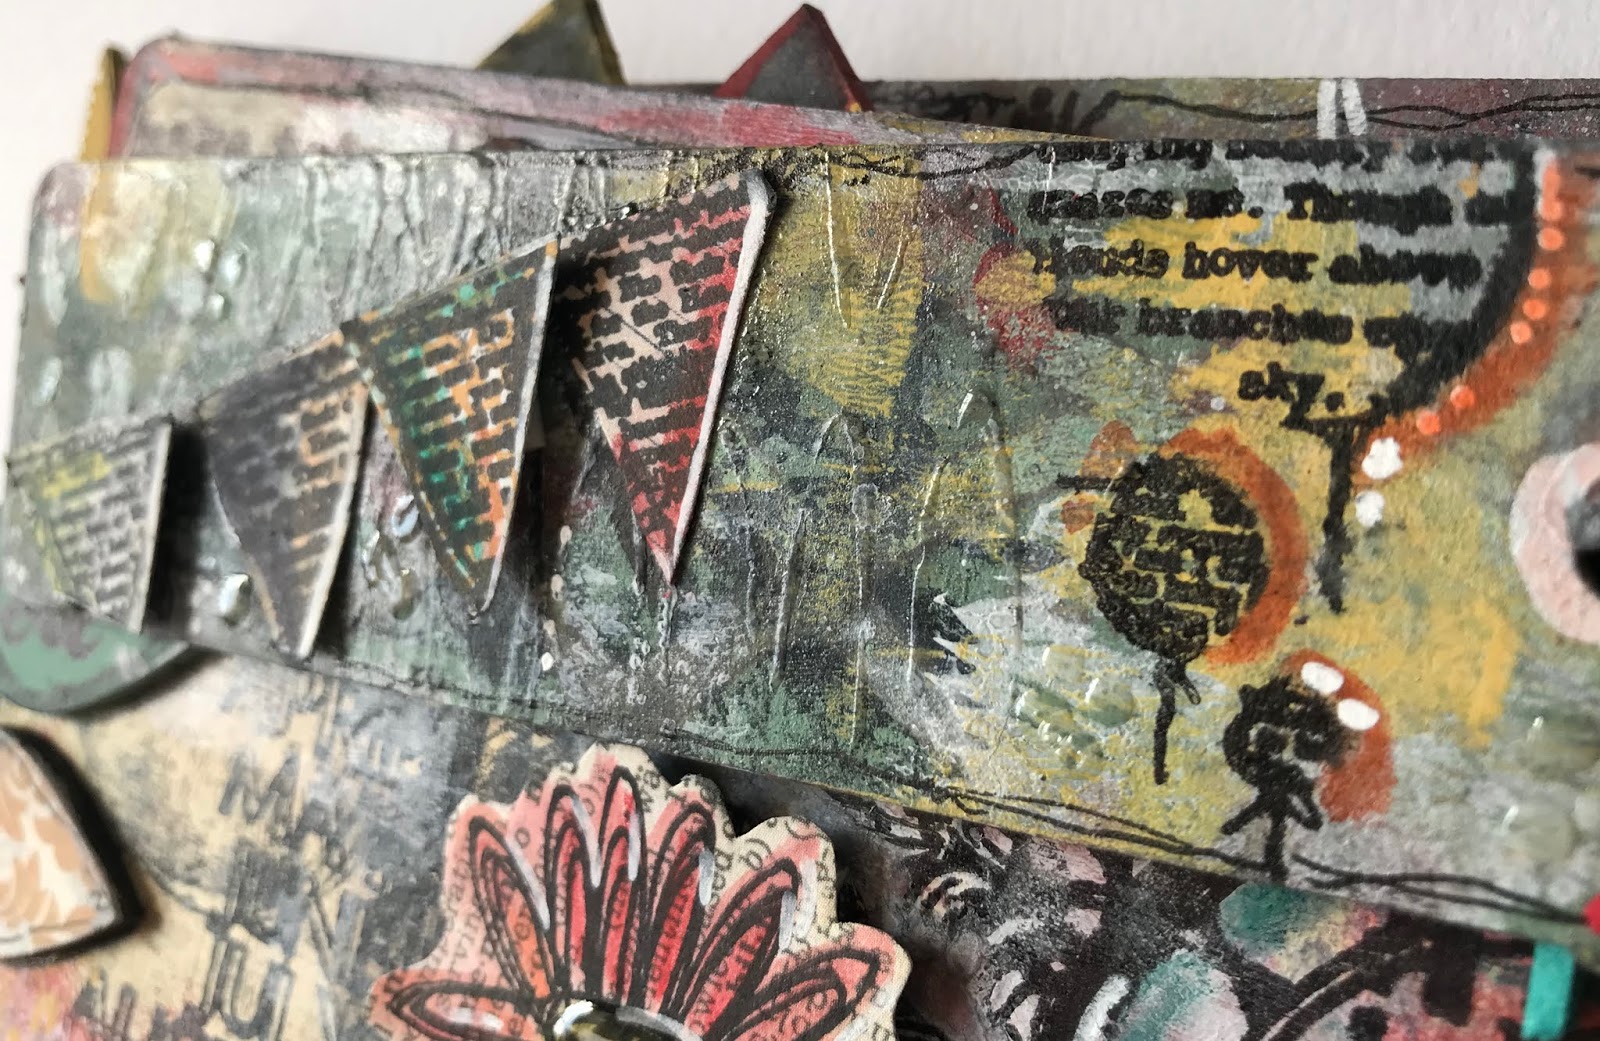
I attacked each page individually after that adding stamped images, painted and paper covered chippies from Bubblyfunk, inktense pencils, black fineliner and posca white paintpen.
I used very little embellies... just some small glass pebbles, glossy accents and a small piece of acetate that was packaging from stamps I think.
The stamps were all Aall and create but a mixtire of images and parts of images from the following sets ( in no particular order I might add...) #55 #39 #64 #47 #57 #27 #140 #10 #54 #23 #3 #81 #26
I love how they all work together even though they are totally different and from diferent designers from their awesome collective. 


 I’ll post the final project tomorrow as I don’t think blogger and my phone are friends at all... and I have lots more piccys to share with you of the finished piece.
I hope you are enjoying  the journey so far😊

Hugs’n’snogs 
J xx

Wednesday, 19 June 2019

My Epic Art Journal - Part 2!!!


Ok, so as promised here I am with the second part of the Art journal adventure 😊

present day!!!

So I was inspired once more watching Abs demo the new releases of Aall & Create stamps and snook a quick purchase of a new ad older set in from Bubblyfunk ( there are a few sets on sale there so go and have a look!!!)
The new sets are amazing!!! I would love them all... Abs and team you are seriously a danger to my bank account!!!
I also bought myself a Versafine Clair black inkpad.... I am so happy with how it stamps... downside is its not permanent ink so anybody got any recommendations? I have fallen out with my Ranger Archival one!!
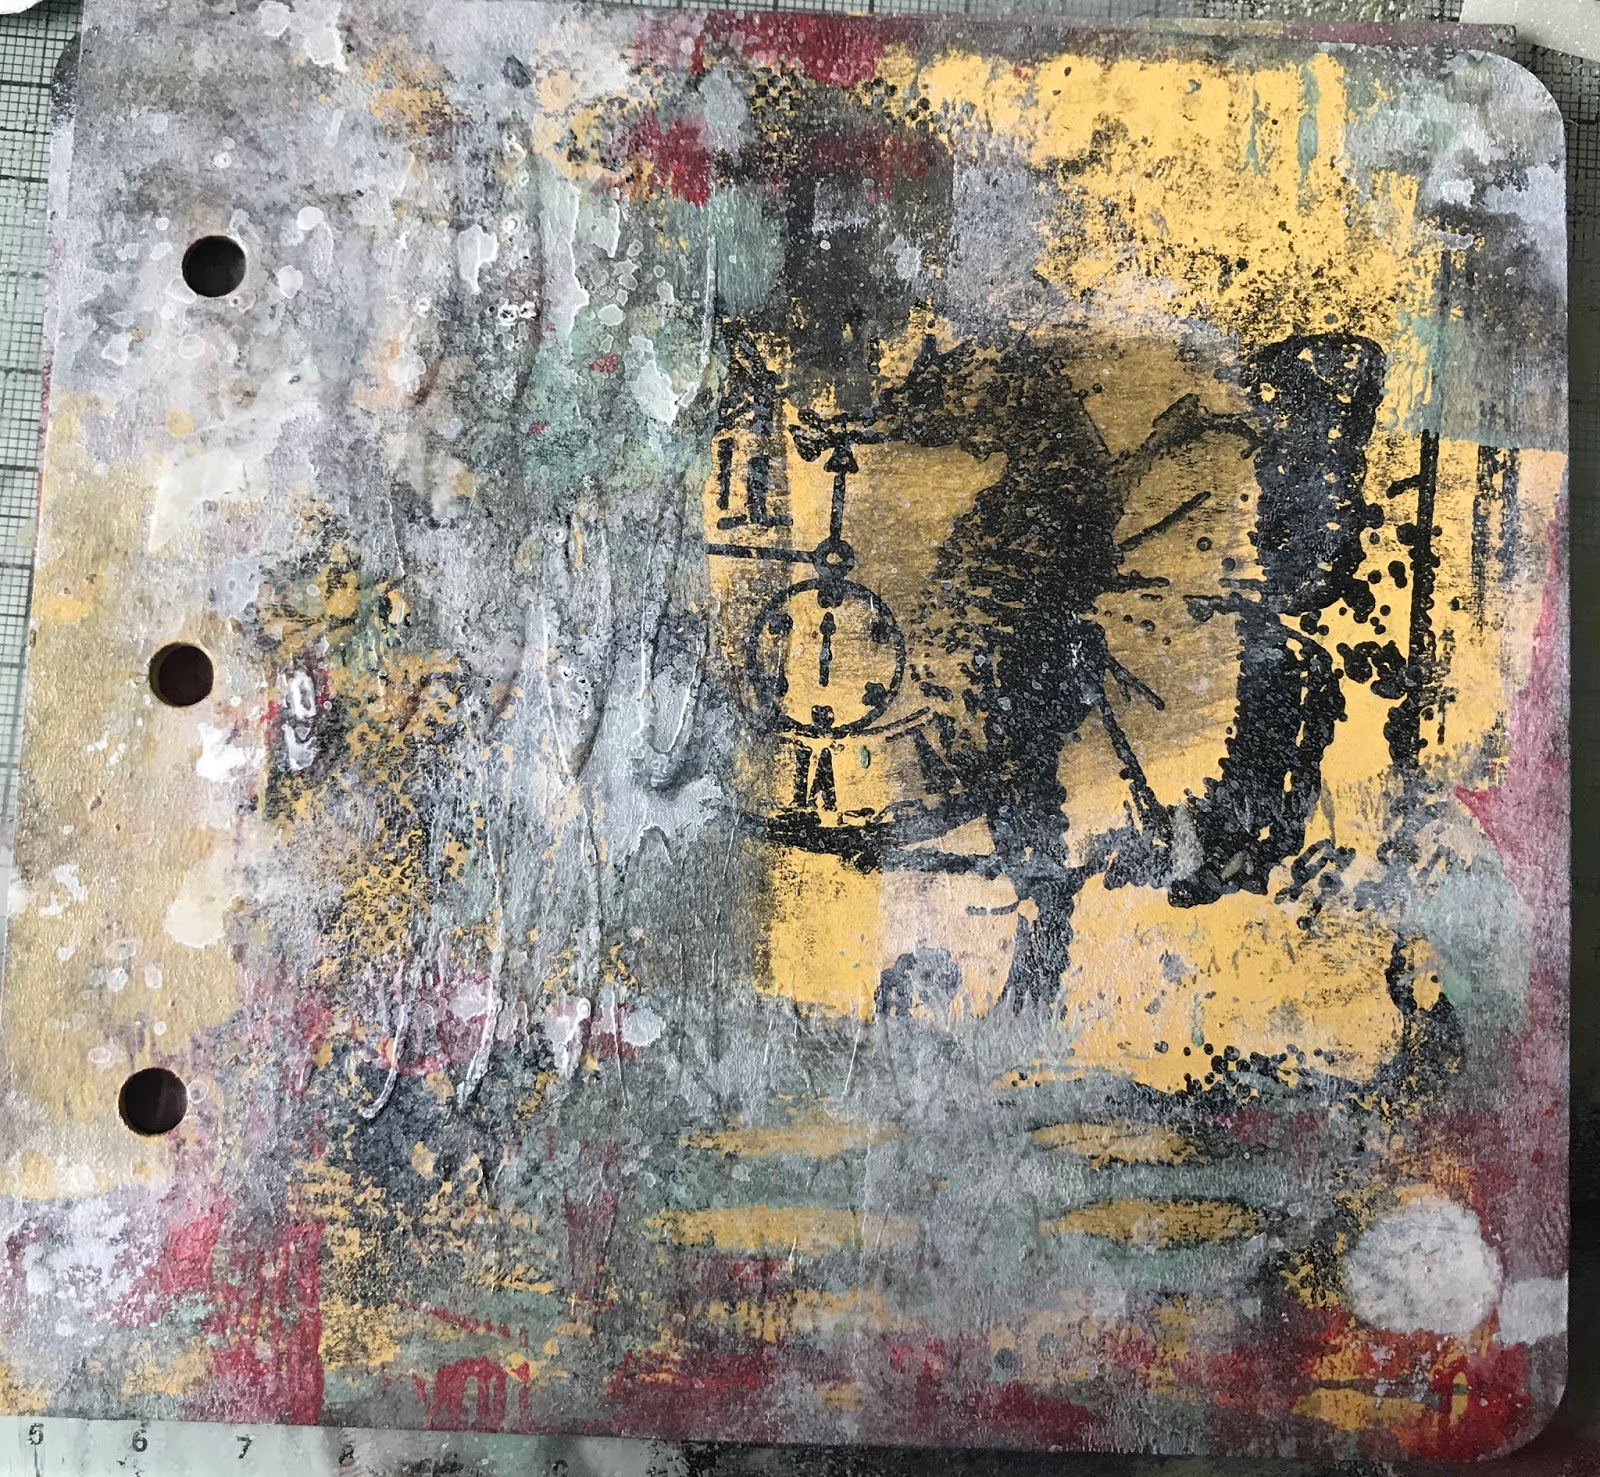
I decided to add some texture to the pages using Thats Crafty gel medium through my collection of Bubbly Funk stencils last week.
Some were just traditionally stencilled through applied with a palette knife, some were the sticky stencil pressed on the pages and others were the remains pushed through then stencils with my finger. Each technique gives a totally different result.
When dry I sprayed some with my Tim Holtz Picket Fence distress spray to highlight the textures created.


i didn’t really mean to publish that then, but never mind!!!
I’ll leave it there for now.....

ScrappyDandyDoo will return soon ( not quite as quickly hopefully this time lol )

Hugs’n’snogs,
J xx