Wednesday 25 January 2012

Imagine....vintage style wooden box for Happy Daze

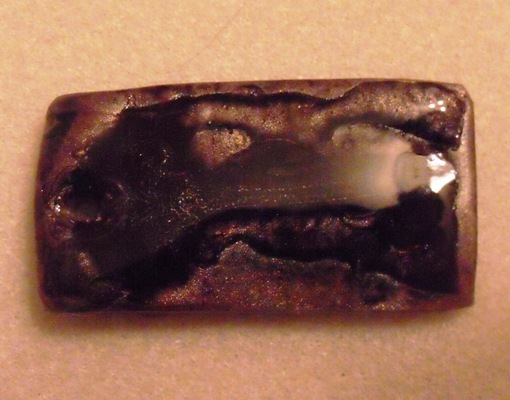
This week for Happy Daze I have altered one of THESE little wooden boxes with Mady Scrolls Work stamp image

I started by painting the box with a light green acrylic paint and when dry painted over areas of it with crackle glaze. When the crackle was dry I painted over them roughly with white paint - I didn't want to obliterate the green just make it look shabby.

I highlighted the edges with Inka Gold in ROSE .

I stamped the image in coffee archival ink on to a piece of tissue paper and then glued it on to the lid with Claudines matte medium and then coated the whole box with it to give it a protective coat.
I added some torn pieces of TH tissue tape to the top and sides of the box.

I used Glitz stickers for the word "Imagine" inspired by the tissue tape.

I finished it off with a piece of ribbon and buttons glued on with the matte medium and tied a piece of ribbon around the box in a bow.
Scrolls Work stamps are no longer in production so if you would like any I wouldn't wait to long as when they are gone Moira won't be able to restock them.

Don't forget about this months challenge is to try or to use something new. All the details of the challenge and how to enter can be seen here.

Hugs'n'snogs,
Julie xx

Friday 6 January 2012

Polymer clay pendants for Happy Daze


Hi everyone and Happy New Year :D
For my NEW technique this week I coloured white polymer clay using perfect pearls pigment powders.
I used white clay and manipulated it until it was nice and soft. I put my perfect pearls on a piece of clingfilm and squished the clay in to it, then neaded it in.
Polymer clay is much softer than it used to be so is much easier to get to a workable texture.

I added in some clear glitter to see how that would look baked, you can't really see it though on the front of the piece, but I rather like how the back turned out with the crinkles from the clingfilm :DIt could quite easily be made in to a reversible piece by adding detail to the back (which I have just thought of now by the way LOL ).

While the clay was still unbaked I cut it in to the shape, made my hanging holes, then pressed my butterfly stamp in to it.

I baked it according to the manufacturers instructions and left it to cool.

Once cooled I added alcohol inks, I started with greens and blues all over but didn't feel the text stood out enough, so I covered it in black soot.
I then removed the excess by wiping over the surface with a paper towel with a little bit of blending solution on leaving behind the ink in the stamped image.
I added a little bit of perfect pearls to the butterfly.
When everything was dry I coated it with layers of Lisa Pavelka resin.

I tried a couple of other pieces some succesful, others not.
This is the same blue as my main piece but I added beadazzles to it...
This piece didn't work so well as I added the resin just to the indented area first and it puddled the alcohol ink ...And these little birds turned out rather nicely.
The one on the left is just the perfect pearls, the one on the right is swiped over with black ink.

The great thing about this technique is that you only need to buy white clay and colour it any colour with your mica powders.

Whats your something new going to be this month?
Upload it to the launch post on the Happy Daze blog to be in with a chance of winning this months prize :D

Hugs'n'snogs,
Julie xx

Edited to add - everybody seems to love that little bird mould so HERE is a link for it. Its only a little mould though probably about 2cm max accross the widest point