Monday 24 June 2019

Bloom - JJAMMA challenge

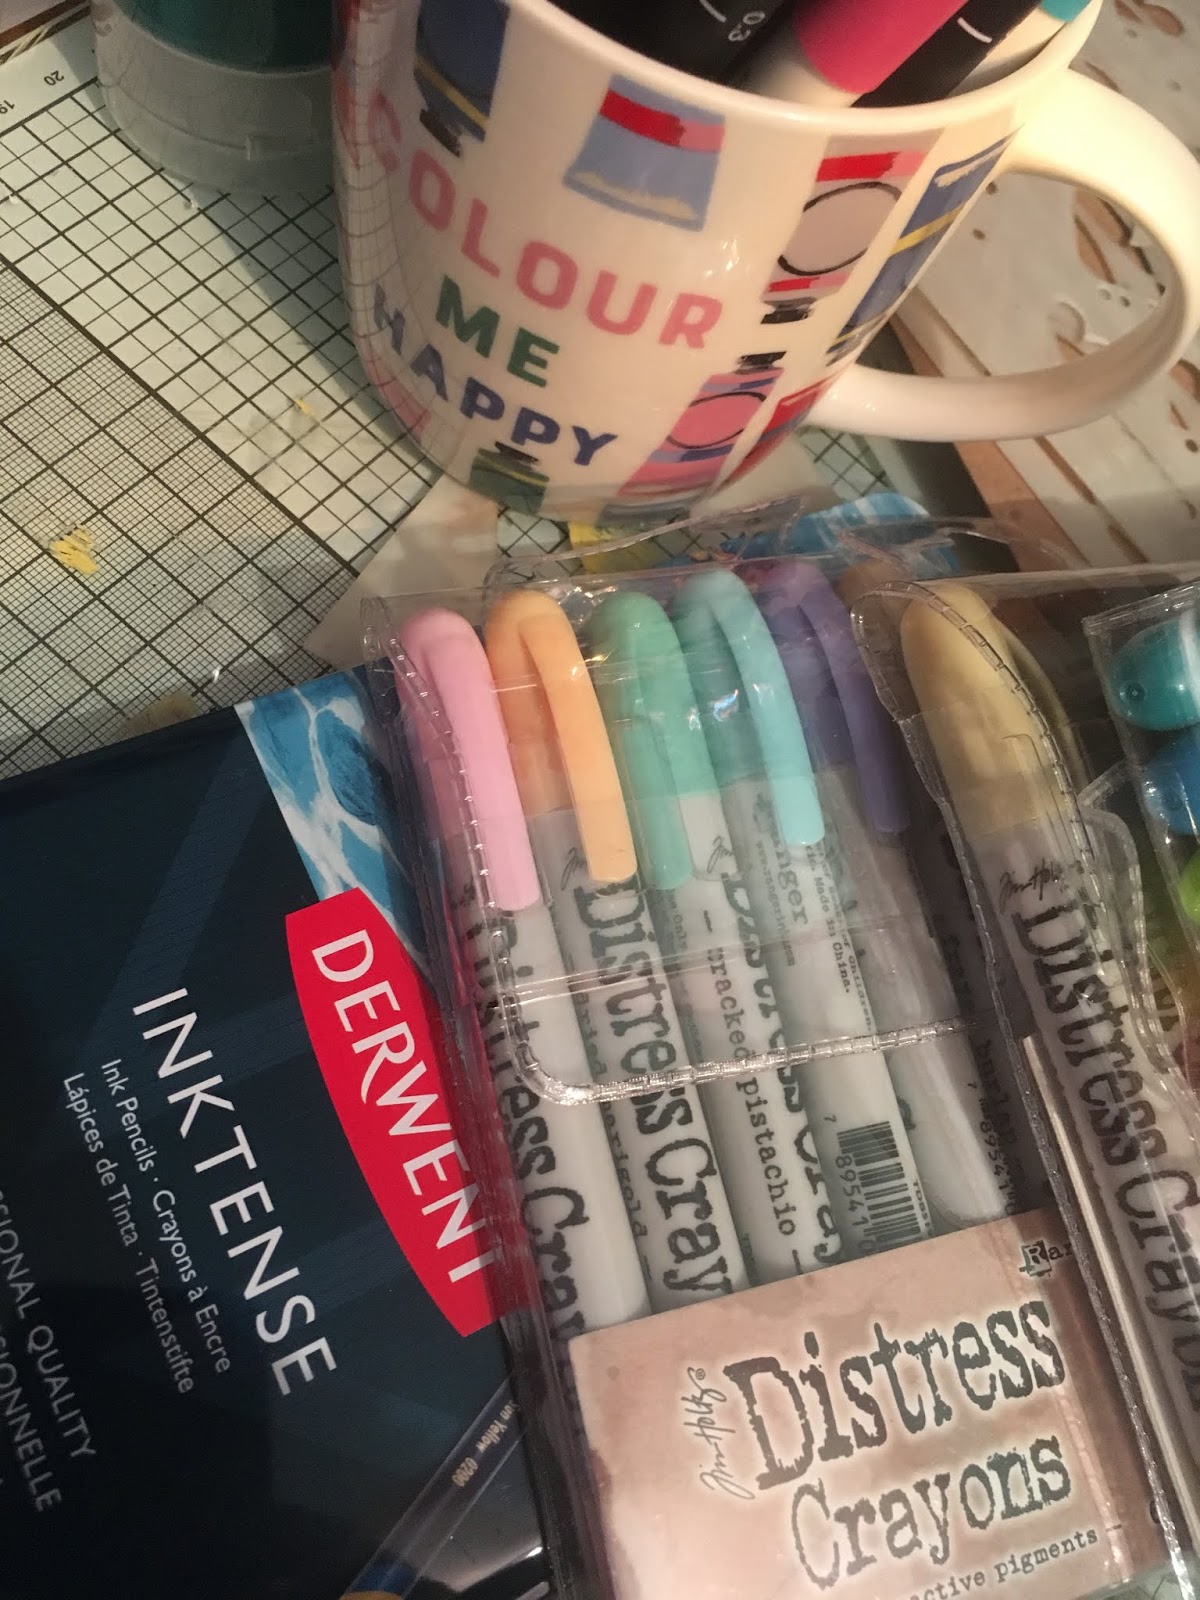
I decided to have a go at JJAMMA challenge tonight - Back to Basics
1 stamp
1 stencil,
1 medium
3 colours + black & whit
and an unexpected item


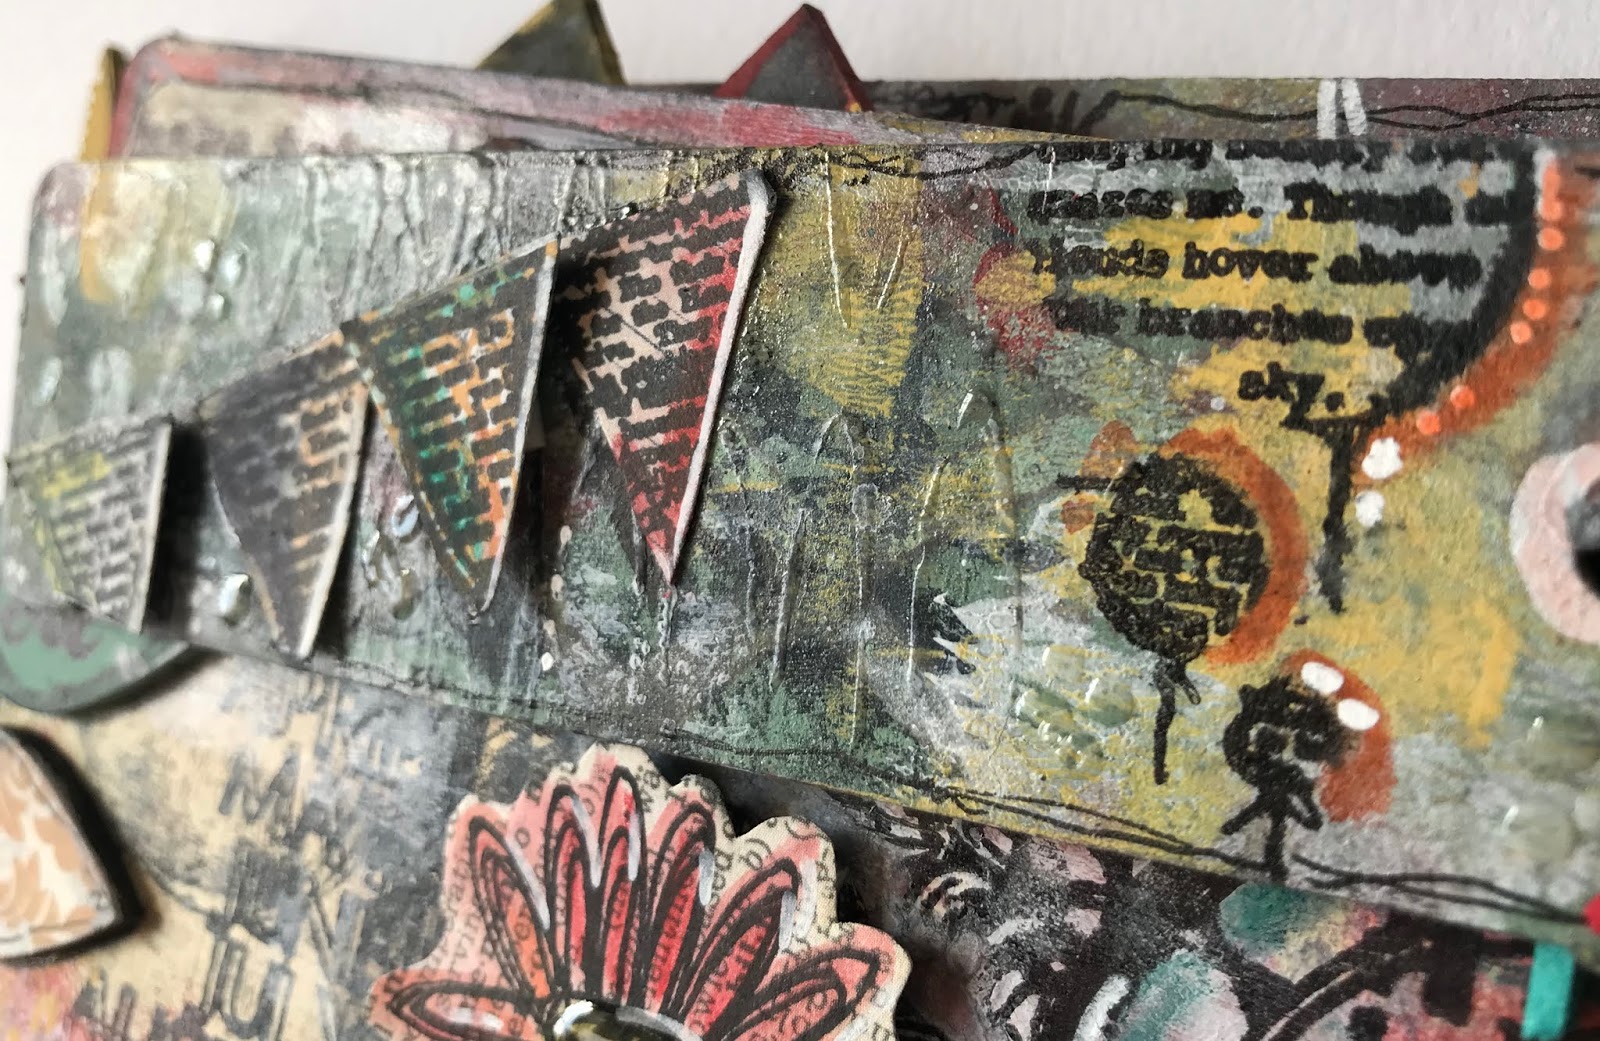
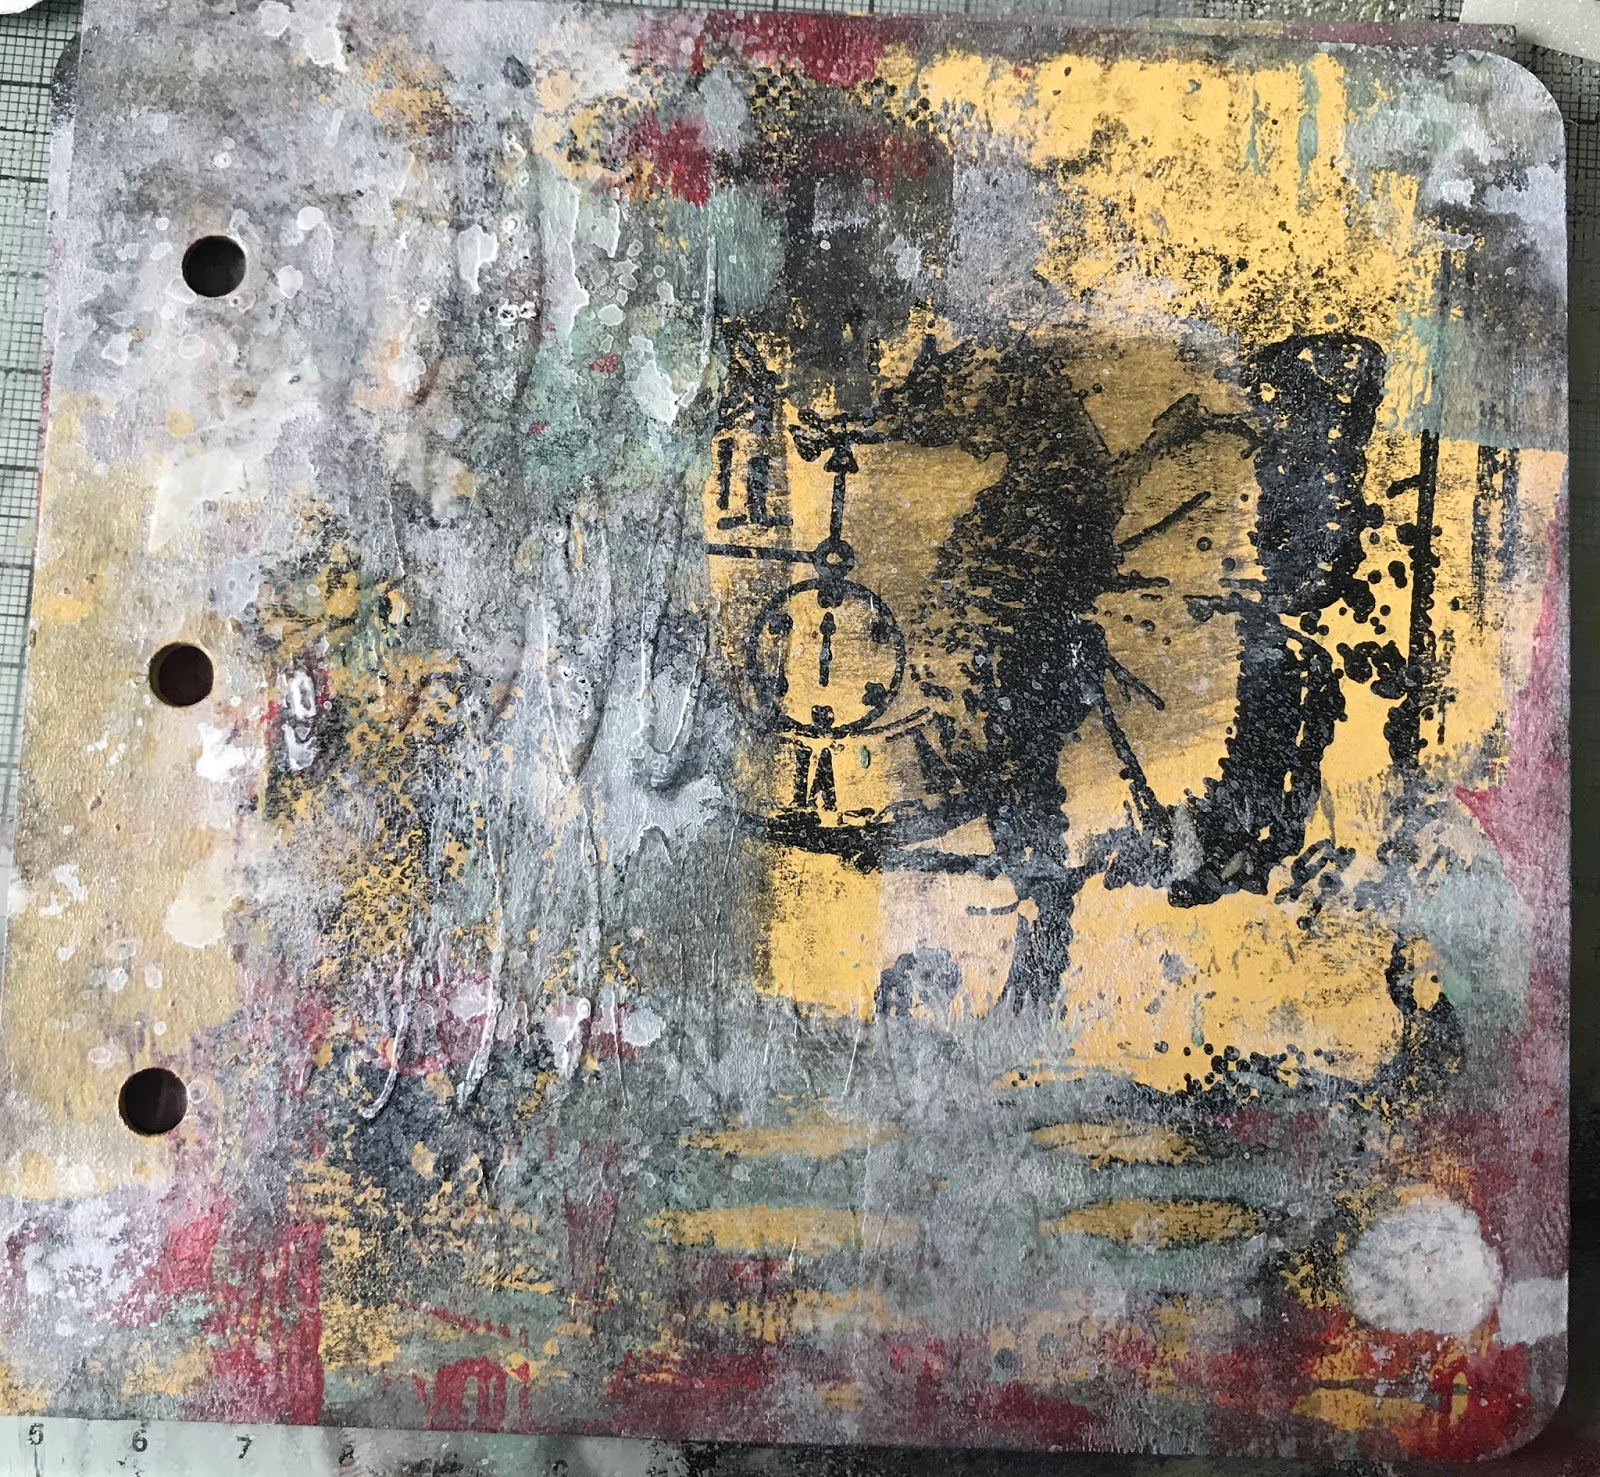
I picked a lime green and very pale lilac acrylic paint and lemon 13arts rainbow color pigment, 13arts stencil, Aall &create stamp, texture paste as my medium, and a 13arts chipboard  word as my unexpected item.

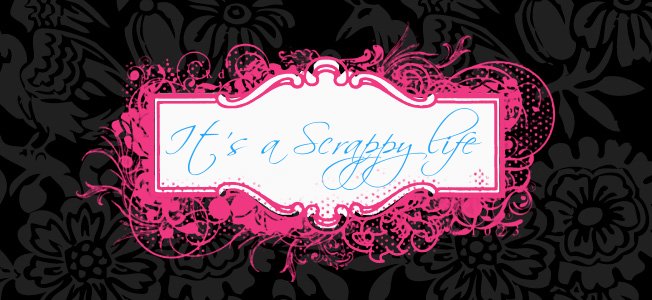
Lots of brayered, stamped and stencilled layers and I achieved this result...


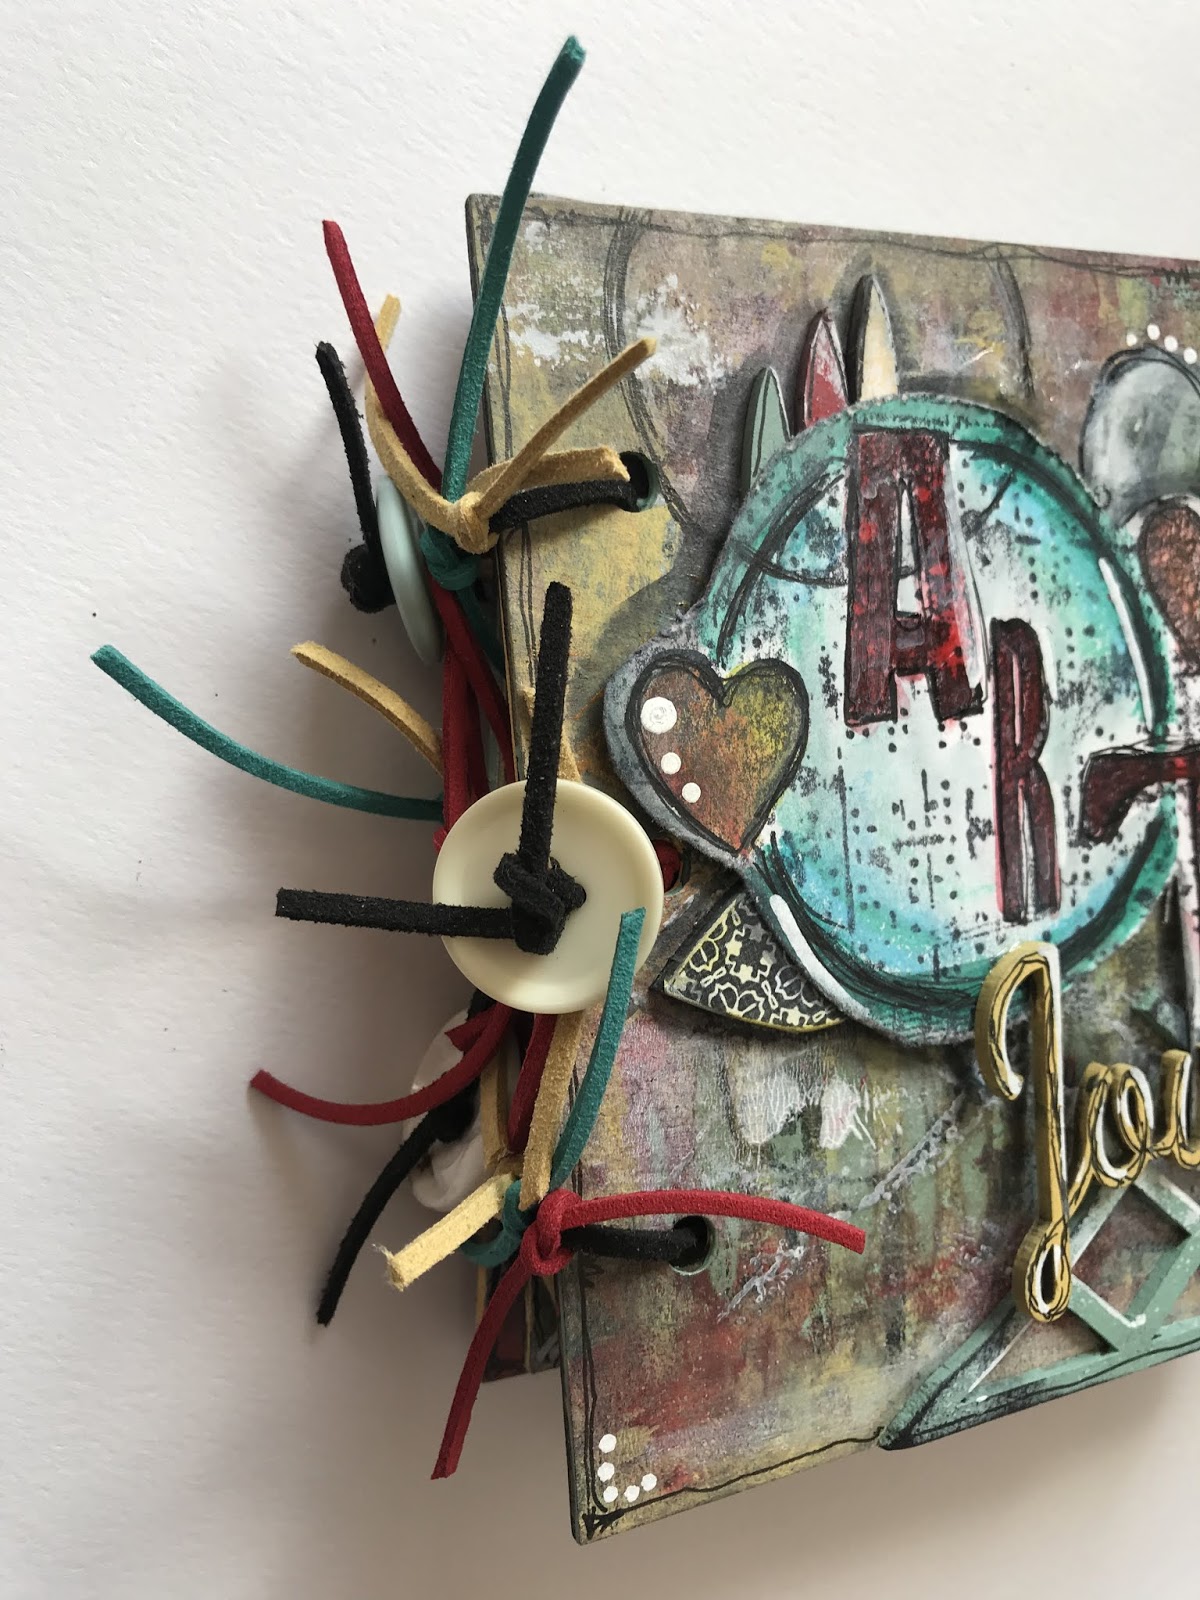
I felt it was lacking something after I had posted it so added some glossy accents and glass bubbles.


I looked at it for a while and still didn’t feel happy so i added some pink rainbow colour and a splash more posca white... love it now πŸ˜Š

i should have picked a stronger colour than the lilac to begin with ... but I love it now 😊


Hugs’n’snogs,
J x


Sunday 23 June 2019

My Epic Art Journal for Bubbly Funk - the Endgame...

So here I am with the finished piece... Warning this is very picture heavy!!!


Binding it all together was the biggest challenge for me... as I said at the start i’m not a journaller or a mini book maker to be honest so I had to have a think.
I thought about book rings - which would have been good if I wanted to add extra pages later ( which I did consider).
My next option was going to be seam binding and wool... but I don’t know where mine is!!
But I found these suede cords I bought from Jewellery Maker a long long time ago and thought they would be perfect.


I played around with this for a while trying to get the pages to be as stable but moveable as possible ...I tried buttons between the pages but that didn’t work... adding additional knotted pieces seemed to do the trick though πŸ˜Š

To finish off I just added a few more knotted pieces in the co-ordinating colours.


I’m super proud of this project and I apologise now if it appears many times over on social media lol.


Thank you so much Caroline for sending me these to play with and huge apologies for how long it took me to do them  justice.


Let me know what you think... and also any suggestions for a permanent black inkpad will be gratefully received πŸ˜Š
Hugs and snogs,

J xx 

P.S.... this is the page that got away!!!! i found it underneath everything when I was clearing up the afternath lol 

Friday 21 June 2019

My Epic Art journal for BubblyFunk - Part 3

I attacked each page individually after that adding stamped images, painted and paper covered chippies from Bubblyfunk, inktense pencils, black fineliner and posca white paintpen.
I used very little embellies... just some small glass pebbles, glossy accents and a small piece of acetate that was packaging from stamps I think.
The stamps were all Aall and create but a mixtire of images and parts of images from the following sets ( in no particular order I might add...) #55 #39 #64 #47 #57 #27 #140 #10 #54 #23 #3 #81 #26
I love how they all work together even though they are totally different and from diferent designers from their awesome collective. 


 I’ll post the final project tomorrow as I don’t think blogger and my phone are friends at all... and I have lots more piccys to share with you of the finished piece.
I hope you are enjoying  the journey so far😊

Hugs’n’snogs 
J xx

Wednesday 19 June 2019

My Epic Art Journal - Part 2!!!


Ok, so as promised here I am with the second part of the Art journal adventure πŸ˜Š

present day!!!

So I was inspired once more watching Abs demo the new releases of Aall & Create stamps and snook a quick purchase of a new ad older set in from Bubblyfunk ( there are a few sets on sale there so go and have a look!!!)
The new sets are amazing!!! I would love them all... Abs and team you are seriously a danger to my bank account!!!
I also bought myself a Versafine Clair black inkpad.... I am so happy with how it stamps... downside is its not permanent ink so anybody got any recommendations? I have fallen out with my Ranger Archival one!!
I decided to add some texture to the pages using Thats Crafty gel medium through my collection of Bubbly Funk stencils last week.
Some were just traditionally stencilled through applied with a palette knife, some were the sticky stencil pressed on the pages and others were the remains pushed through then stencils with my finger. Each technique gives a totally different result.
When dry I sprayed some with my Tim Holtz Picket Fence distress spray to highlight the textures created.


i didn’t really mean to publish that then, but never mind!!!
I’ll leave it there for now.....

ScrappyDandyDoo will return soon ( not quite as quickly hopefully this time lol )

Hugs’n’snogs,
J xx

My epic Art Journal for BubblyFunk

Ok, so i’m having a few tech issues with my phone and blogger so I think I will split this super long post over a couple of days  to make it easier and so you don’t fall asleep half way through!!!

So Caroline sent me this awesome kit wayyyyyy back in January and I loved it!!!
I’m mot really a journal person and have never managed to keep a diary longer than a week in my whole life lol.
I was so inspired just by the colours on that first file folder with the days of the week and had this grand master plan to keep the whole thing really simple and clean looking with painted acrylic pages embellished with the lovely bits of teresa collins papers and a few Aall & Create stamped images...

I knew I had some old acrylic paints that would compliment the colours in them so dug them out and wopped some on...
Then It kinda didn’t happen like that as my brayer, acrylic paints, gesso, babywipes, and stamps decided to take over the project!!!


So I used a selection of my Aall &create stamps and used gesso to get a lovely black crisp image on the painted surfaces... the plan was still in place at this point.


It was the brayer that led me astray!!!
Unfortunately I didn’t take pics through these stages ( or if I did they didn’t transfer over from my old phone which decided to take a swim in the loo πŸ˜³πŸ˜•... that was the most expensive visit to the loo I have paid!!! Thank goodness for Icloud!!!)
What happened with the brayer was layers of various acrylic paints were brayered over the stamped images then lifted back off through Bubblyfunk stencils.

It all came out spectacularly grungey and not at all what I was 
really aiming for but I fell in love with the pages.


I stamped some complimentary images from my Aall & create stamps onto mixed media cardstock and roughly but lightly coloured them with my derwent inktense pencils.
If you haven’t tried these yet you really must!!! They are simply
 amazeballs!!

The colours are so vibrant when you add water and when dry are permanant.


I must admit I had to take a while off at this point... firstly to come to terms with the change in the project... secondly because I fell
 out with my black inkpad because I couldn’t get the nice crisp black images I wanted... and thirdly because we were having some work done on the house and life got in the way of crafting!
For quite a while I could’t even get in my craft room (or clutter corner as my other half likes to call it lol) and to be honest its still not tidy at all and ends up a dumping ground.

Does anybody also end up crafting in a 6” square left on the desk full of equipment or is that just me???

I have to admit my tonic glass craft mat is one of the best things I have ever bought and got it for a really good price at The Range online.

Oh and the fourth hurdle was I developed a Marvel addiction!!!! Oh my... I really don’t know how I missed these films over the last decade or so but it ended up with me having to watch all 20 movies (a few times over for a few faves - I am Groot πŸ€£) so that I could go and watch Avengers End game and understand it lol -wow what a movie that was... Stan Lee I salute you!!!

So at this point we will take a break and i’ll continue this epic saga in seperate posts.
So in Marvel style... This Vintage girl will return soon....

Hugs’n’snogs,
J xx